

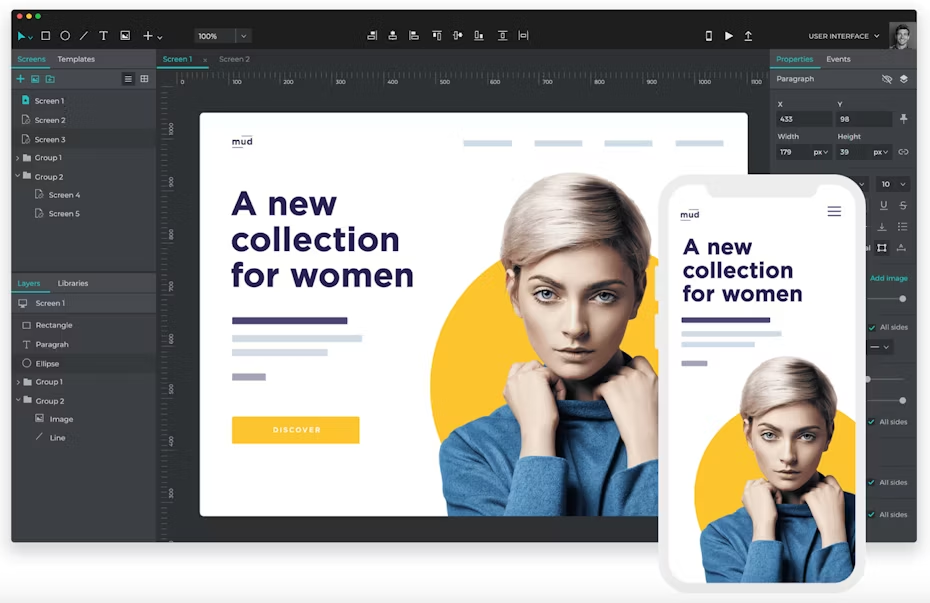
Web Application Interface Design Tool
User interface (UI) design has been one of the critical components of any digital product since the start of the Internet. From a simple dropdown menu interaction to crafting elaborate animations using specialized UI design tools that guide the user's attention, UI design has become a multifaceted endeavor with several steps along the way from sketching to developer handoff.
The modern digital world offers a wide selection of UI design tools. With powerful collaboration features and dedicated functionality, these tools help designers create UI elements quicker and seamlessly.
Before getting into the best UI design tools, let's define the basics and answer some gnawing questions.
What is UI design?
—
By definition, UI design is "The process designers use to build interfaces in software or computerized devices, focusing on looks or style."
UI design covers more than graphical user interfaces and nowadays includes voice-controlled interfaces, mobile gestures and even AR and VR interactions. Because of all that, the scope of UI design includes screen layouts, transitions, animations, buttons and practically all visual elements that are static or dynamic.
The main goal for a solid UI design is to be visually appealing, united and functional down to every micro-interaction. It's not enough that the application or a site looks good; the elements need to work together, driving towards a focused and united purpose. In simple terms, UI design needs to look good and add to the functionality of the app or site.
Unlike user experience (UX) design, UI design is purely digital. This means that UI design doesn't cover any physical products and only applies in the internet-driven world. Anything that involves physical products, interactions, or physical appearance falls under UX design.
Since many physical products are linked with the digital world (think screens in a car, interactive maps in a mall, or even a smartphone), UI design often complements UX design. In other words, both aim to make the physical or digital product easier and intuitive to use.
Why should you bother with UI design?
—
The choices you make within your UI design will affect your users' perception of your site or application. That's why a great UI design will either make or break your project and influence your users' decisions during their site or app visit.
UI design takes advantage of numerous psychological triggers and considerations to create a visual design that serves the purpose of your site or application. These psychological triggers include but aren't limited to color psychology, font psychology and behavioral science.
Even without considering the psychological aspects, a bad visual design and confusing interactions will send your visitors away screaming. For that reason, it's in your best interest to make sure your design is attractive, guiding and responsive for your users. You can also apply the principles of UI design to every site and application. Even when creating a website from scratch, you can plan your UI ahead or make changes afterward when the need arises.
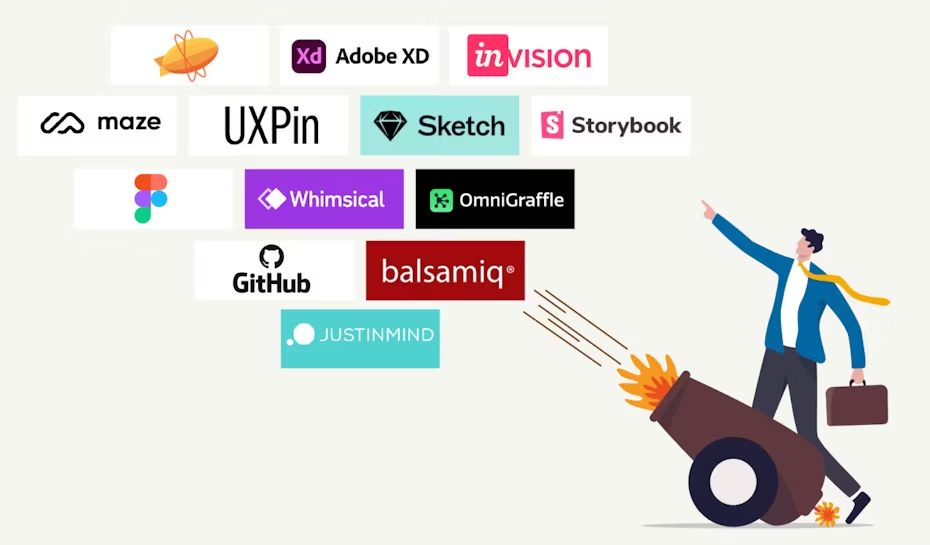
And when that time comes, here are the 14 best UI design tools to help you create a great interface.
Best UI design tools
—
- Sketching and user flows
- InVision
- Whimsical
- OmniGraffle Pro
- Wireframing
- Balsamiq
- Justinmind
- UXPin
- Interface design and prototyping
- Figma
- Sketch
- Adobe XD
- Specific purpose tools
- Storybook – managing design systems
- GitHub – versioning
- Maze – user testing
- Zeplin – developer handoff
Sketching and user flows
—
The first step of UI design is sketching the elements of the site or application design and mapping out user flows. While many designers prefer to use pen and paper for this step, digital tools allow a whiteboard-like experience with an added collaboration effect to make the ideation phase smoother.
Other than offline tools, you can also use your preferred graphic design tools, text editors and even Google Sheets at this stage. But going with a tool that's especially designed for the sketching and user flow process saves you time, makes the experience flawless and contributes to a solid foundation. As a bonus, many tools can be integrated or used for the next steps of the UI design process.
Let's look at the best UI design tools for sketching and user flows.
InVision Freehand

InVision Freehand is an equivalent to a real-world whiteboard with added digital elements you can easily use. Freehand is part of the InVision toolset, which you can use for prototyping, code inspection and design system management. Nevertheless, user flow and sketching are where the InVision Freehand tool shines the most.
With Freehand, you can brainstorm and create mockups together with your team in real-time. You can use predefined elements and freehand drawing to get the ideas across quickly and efficiently. Freehand also integrates seamlessly with other well-known collaboration and design tools, such as Slack, Microsoft Teams, Sketch and Photoshop.
Best feature: real-time collaborative freehand drawing
Cost: free plan available; paid plans starting from $7.95/month
Skill level: beginner
Pros:
- Real-time collaboration with a live presentation
- Full-featured free plan
- Integration with collaboration and design tools
Cons:
- No native app
- Can quickly get disorganized
Whimsical
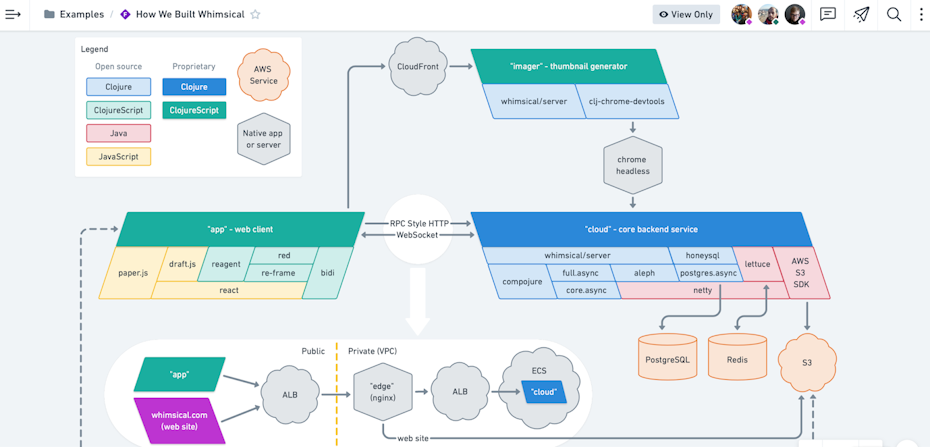
Whimsical is a UI design tool best for creating product specs, ideation and user flows. It features simple commands and a clean interface, perfect for real-time collaboration at the very beginning of the UI design process. It's also very beginner-friendly, meaning that your colleagues outside of the UI realm can also easily pitch in.
While Whimsical is missing freehand writing tools, it makes up for it by allowing seamless addition of diagram elements, which speeds up the process and creates an organized structure. Not only that, but you can also develop wireframes with this tool as the next step of your UI design process.
Best feature: single-click diagram elements
Cost: free plan available; paid plans starting from $20/month
Skill level: beginner
Pros:
- Real-time collaboration
- Simple controls and features
Cons:
- Gets expensive with a large team
- No freehand features
OmniGraffle Pro
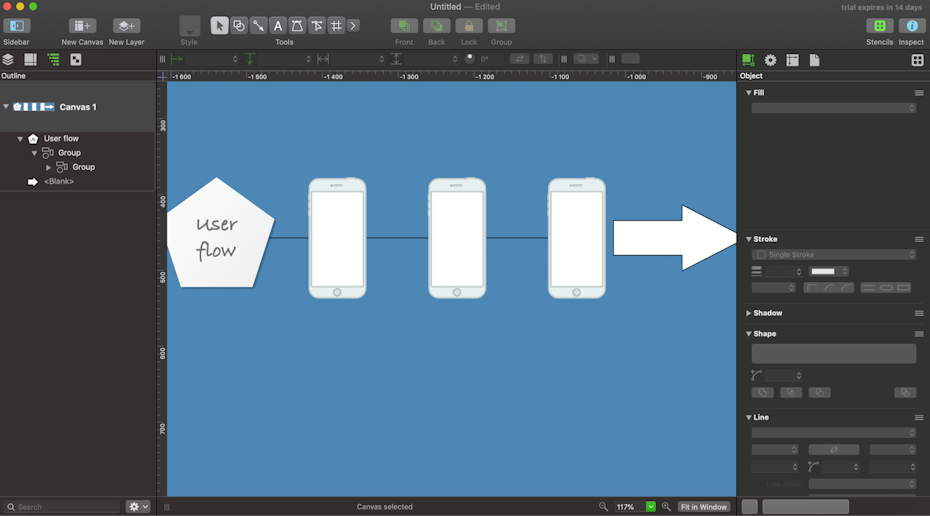
OmniGraffle Pro is one of the design tools under the Omni brand. It's dedicated to creating easy-to-understand diagrams for user flows and sketching using vector graphics.
This design tool has some excellent modern features that make the ideation phase smoother and easy to grasp even by novice designers. You can take advantage of snap-in-place and alignment tools to organize your user flows, use drag and drop features and collaborate with your colleagues. The latter is relatively limited compared with the other tools for the sketching phase.
Best feature: precise positioning and snap-in-place tools
Cost: starting from $12.49/month with a 14-day free trial
Skill level: beginner
Pros:
- Grouping, snap-in-place and alignment tools
- Drag and drop features
- Visually pleasing and clean
Cons:
- Only supports Mac and iOS
- Limited collaboration
Wireframing
—
Wireframing, by definition, is "A way to design a website service at the structural level. A wireframe is commonly used to layout content and functionality on a page which takes into account user needs and user journeys."
This is the next step after the ideation phase, where you have basic sketches and user flows defined. In the wireframing stage, you will create basic pages and screens to connect and build into a smooth user flow. In simple terms, wireframing creates unique looks and functionality sketches for each step on the user flow and your site or application.
Balsamiq

Balsamiq is a dedicated wireframing tool for websites and applications. It features low-fidelity wireframing with similarities to sketching on paper. The tool is designed so that you can skip getting bogged down on details at this step and focus on structure and content.
A great feature is you can create sketch-like elements that you can later switch to presentable components. It's a handy feature for keeping the frames on point without much detail and making the presentation clean and seamless after you're done.
Balsamiq comes with three options; an integrated Google Drive app, a Cloud app, or a native desktop app. So it's flexible to serve your current design flows and collaboration efforts. This UI design tool is suitable for beginners and corporations alike and can serve multiple audiences.
Best feature: a switch between sketch and presentation look
Cost: starting from $9/month with a 30-day free trial
Skill level: beginner
Pros:
- Unlimited wireframes and users
- Drag and drop features
- Exporting to interactive prototypes
Cons:
- 2-project limitation with the Cloud plan
- Integrations with collaboration tools (Google Drive, Jira, Confluence) cost extra
Justinmind
While Justinmind is primarily a prototyping tool, the built-in wireframing feature is where this UI tool shines the most. It has an extensive library of ready-made wireframes for web and mobile apps, making the process much quicker and intuitive.
Since Justinmind also has prototyping tools, you can already test mobile gestures on a wireframe without the need to proceed to the next step in your design process. You can seamlessly choose a base, drag and drop elements and rapidly test out your ideas in one smooth flow.
Justinmind features customization options for all UI elements, including the predefined ones. You can also use guides and rules to place the elements with pixel-perfect accuracy and align them with other parts. Not only that, it can integrate with popular graphic design tools, like Photoshop and Illustrator, for a seamless import of images and graphical elements.
As an added bonus, you can also use Justinmind for handing off ready designs to the developers with ease.
Best feature: testing mobile gestures on a wireframe
Cost: free plan available; paid plans starting from $19/month with a 15-day free full-feature trial
Skill level: beginner to advanced
Pros:
- Unlimited wireframes and users
- Drag and drop features
- Exporting to interactive prototypes
- Integrations with Photoshop, Illustrator, Sketch, etc.
Cons:
- Can get expensive with a large team
- Limited storage
UXPin

UXPin is similar to Justinmind as it's another combined tool for wireframing and prototyping. The difference is UXPin also allows mockups, design systems, collaboration and developer handoff, making it an all-in-one design tool.
While all parts of UXPin are solid, the wireframing component is where this tool performs the best. You can quickly build wireframes with UI components and custom elements and collaborate with your team in real-time. There's also an option to gather user feedback on the wireframe design before moving on to the prototyping phase. The latter could save a lot of time on iterations when the feedback is instant during the designing process.
Best feature: collecting user feedback in the wireframing step
Cost: starting from $19/month with a free 7-day trial
Skill level: beginner to advanced
Pros:
- Real-time collaboration
- Fast-paced wireframe creation
- All-in-one tool
Cons:
- Expensive
Interface design and prototyping
—
The last major leg of a UI design process is the prototyping phase. In this step, the created wireframes and static layers come to life with transitions and triggers. Here, you'll test out the entire flow of your design and reiterate if something is missing or needs revision.
You can prototype your designs with specialized tools that let you add transition features for user inputs, such as tapping to go to the next page, scrolling gestures to reveal additional images and so on. This stage is the most technical out of all others as it requires intricate knowledge of user interactions and UI design.
Let's look at some of the best tools for this job.
Figma

Figma is an all-in-one tool you can use for sketching, wireframing, prototyping and even managing design systems. Like with other multi-purpose tools, Figma has a strong suit in a particular process during the UI design development and prototyping. Despite that, it lacks proper vector tools and only lives in the browser, slowing down projects with many pages and tons of art assets.
You can easily connect UI elements and choose interactions and animations between frames. Every interaction is also customizable with on-click, hovering, pressing and swiping gestures. You can also make use of nested artboards to create unique and flexible UI elements.
With Figma, you can also have the users test out your designs in the research phase and observe them in real-time. This means that you can already collect feedback from an actual user before moving your design to the testing phase. It creates a clever synergy between the designer and the user to amplify the UI design to new heights.
Best feature: observing a test subject in the research phase
Cost: free plan available; paid plans starting from $45/month
Skill level: beginner to advanced
Pros:
- Extensive free plan
- Cloud-based real-time collaboration
- Flexible nested artboards
- Works well on most browsers (Chrome, Firefox, Safari, Microsoft Edge)
Cons:
- Limited vector tools
- No desktop app
Sketch

Sketch is a household name among UI designers. You probably won't find a UI designer worth their salt who hasn't heard or tried Sketch (maybe). While you can use this tool for multiple steps in the UI design process, the prototyping phase is where it's most valuable.
Sketch features easy-to-use snap-in-place tool and intelligent guides that enables you to create linked prototypes. You can also observe changes you make on an actual iOS device using the Mirror extension. Sketch also packs vector editing features that allow you to create graphics without switching to another application.
As an added bonus, you can easily engage with developers using Sketch as they can inspect designs, measure layers and download production-ready assets.
Best feature: real-time iterations on an actual iOS device
Cost: starting from $9/month with a 30-day free trial
Skill level: beginner to advanced
Pros:
- Real-time collaboration
- Native application on macOS
- Extensive integration list
Cons:
- Moderate learning curve
- Only supports iOS and macOS
Adobe XD

Adobe XD is part of the Adobe Creative Cloud product, although you can purchase and use it separately from other Adobe apps. Since Adobe XD is a dedicated prototyping tool, don't expect to get much else out of it—unless you go for the full Creative Cloud.
Because of its focus on prototyping, it has all the features and more for this stage. You can build interactive prototypes and test them immediately across devices. And creating prototypes is accessible with various single-click elements speeding up the process. There are also visually pleasing 3D transformation features that allow you to break down the design layers for closer inspection.
Adobe XD integrates with Adobe's other applications and has over 200 plugins to customize your experience and tweak the tool according to your needs. You can also create custom APIs to talior the tool to your preference.
Best feature: 3D layer showcasing
Cost: free for personal use; paid plans starting from $9.99/month
Skill level: beginner to advanced
Pros:
- Real-time collaboration
- Seamless integration with Adobe apps
- Works on macOS and Windows
- Full-feature free plan
Cons:
- Upsell for Creative Cloud can get expensive
- No graphic element editing tools
Specific purpose tools
—
Aside from the main UI design tools, there are also secondary tools dedicated to specific parts of the design process. Their primary purpose is to make a single step as frictionless as possible, adding to the efficiency of the entire design process.
Other than the main three steps of sketching, wireframing and prototyping, there is managing design systems, versioning, user testing and developer handoff. While some of the tools we've already covered allow you to do some of these steps within the application, there are also dedicated tools you could use.
Let's look at some secondary UI design tools that can also boost your UI design processes.
Storybook – managing design systems

Storybook is an open-source tool for managing design systems and building UI components in isolation. It makes organizing different parts of the designing system more seamless and uncluttered. You can use this tool to ensure that you're working on one UI component at a time without interfering with the rest.
Storybook tool has an automatic style guide creation which makes the process of documentation feel seamless. You can also reuse the document components and automatically test your components to steer clear of potential bugs. With additional add-ons, Storybook can also help you with creating responsive layouts and bring out accessibility issues.
Integration works with widely-used frameworks, such as React, Vue, Angular, Web Components, Ember, HTML, Mithril, Marko, Svelte, Riot, Preact, and Rax. As an added bonus, you can save each use case in plain JavaScript to be accessed during development, testing and QA.
Best feature: isolated UI component testing
Cost: free
Skill level: advanced
Pros:
- Extensive plugin and add-on library
- Open-source
- Wide framework integration
Cons:
- Steep learning curve
GitHub – versioning

There can be multiple iterations (or versions) of a specific UI element during the design process. It's not uncommon to revisit an older design and go with it rather than the most recent one. That's why saving multiple versions and organizing them becomes a necessity.
GitHub allows your team to code, build, test, debug and deploy instantly. You can access GitHub from every device, making it a seamless part of your design process.
This tool has multiple collaboration features, meaning that you can effortlessly notify your team members or a third-party developer of changes, accept their recommendations and add multi-line comments. From a security side, you can add restrictions on merging, require reviews, or allow specific people to work on a particular code or design.
GitHub also packs automation tools that you can use to save time on your design process further and eliminate time-consuming tasks. You can set up automation for publishing code, delivering ready-made design elements and set up notifications for special teams.
Best feature: instant code publishing on Cloud
Cost: free plan available; paid plans starting from $4/month
Skill level: beginner to advanced
Pros:
- Unlimited public and private repositories
- Unlimited collaborators
- Powerful automation tools for versioning
Cons:
- Limited storage with the free and cheapest plan
- Extensive feature limitations for private repositories with a free plan
Maze – user testing

Maze allows you to remotely test prototypes, wireframes and other site and application elements within your team. It provides an authentic browser-based and device experience so you can effortlessly test out your designs and functionality.
Maze offers multiple test features, such as Missions, Conditions, Open Questions, Card Sorting and 5-Second Tests. Another beneficial aspect of Maze is the reporting after-test features. You can create custom reports or build on predefined reports without needing to rewatch the entire testing session. What's more, you get misclick reports indicating user-side failed interactions with your design and heatmaps showing where the users' attention is on your app or site. Both of these allow you to fine-tune your designs and make them more user-friendly.
Maze also integrates with Figma, InVision, Adobe XD and Sketch. You can seamlessly test designs created in those design tools and collaborate company-wide for insights and further comments.
Best feature: remote user-facing testing
Cost: free limited plan; paid plans starting from $42/month
Skill level: advanced
Pros:
- Integrations with popular design tools
- Remote design testing
- Inclusive reporting
Cons:
- Expensive
- Limited features in the free plan
Zeplin – developer handoff
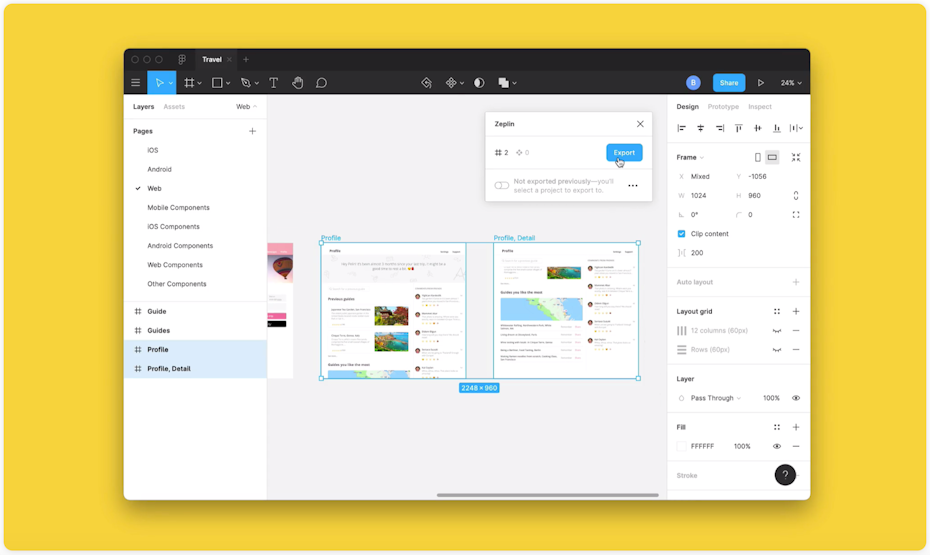
Developer handoff is the last phase of the UI design process. It's where the developers take over the design files and code snippets.
Zeplin is the best tool for just the handover purpose, integrating seamlessly with the popular Figma, Sketch and Adobe XD tools. Zeplin makes it easy for developers to understand which variations are locked in without double-checking each time. That's why, Zeplin acts as an efficient go-between alongside different teams.
The tool is easy to use by designers and non-designers alike, creating a valuable synergy among your team. You can also create custom webhooks and workflows to boost the workflow further and eliminate repetitive tasks.
Best feature: webhooks and custom workflows
Cost: free with a single project; paid plans starting from $6/month
Skill level: beginner
Pros:
- Full-feature free plan
- Multiple tools for automating workflow
- Beginner-friendly
Cons:
- Limited style guides with the free and cheapest plan
- Limited integration possibilities
Should I go with a single tool or use multiple tools?
—
When considering the entire UI design process, there isn't a one-size-fits-all solution that can handle every part of the process. Sure, there's an all-in-one software that you can use for different steps with solid performance, such as Figma, but they might not square up to dedicated tools in a specific design step.
Each UI design tool has its strengths and weaknesses. If a multi-purpose design tool shines in one particular area, it doesn't mean that you shouldn't use it for other steps as well. Dedicated tools perform specific aspects of the UI design better than the all-rounded tools. But spending money on many software tools can get costly.
The bottom line is that using single or multiple tools mainly comes down to your preference and budget. And when in doubt take advantage of the UI design tools that offer a trial period or a limited free version so you can get a feel for the product and decide if it's the right fit.
Pick the best UI design tools for your work
—
UI design is a multifaceted endeavor that requires several steps between ideation and final designs. The different parts of the process can easily be defined and tackled using all-in-one or dedicated tools, each with its own pros and cons. It isn't a clear-cut case for which tools to use, and the choice mainly comes down to your preference and budget.
Which UI design tools do you prefer to work with? Let us know in the comment section below!
Need a UI design for your website?
Work with our talented designers to make it happen.
Web Application Interface Design Tool
Source: https://99designs.com/blog/design-resources/ui-design-tools/
Posted by: shipleywatiod.blogspot.com
0 Response to "Web Application Interface Design Tool"
Post a Comment