

How To Use Transparency Tool In Affinity Designer
Clipping masks add versatility to your vector design work, and for a variety of reasons. They allow you to fill an object with a photo, and they also allow you to make unique shapes in a non-destructive way. Upon first sight, it may appear that Affinity Designer lacks the ability to create clipping masks (also known as clipping paths,) but it doesn't. In this tutorial I'll be demonstrating how you can make a clipping mask with Affinity Designer using just a single click.
What Is A Clipping Mask?
A clipping mask, in short, is way of making one object take the shape of another object, but without distorting it. So it's kind of like filling an object with another object:

This is not to be confused with layer masking, which uses the composition of one object to determine the transparency of another object.
It's sort of like using a cookie cutter. A cookie cutter allows you to make cookie dough take the shape of the cutter, clipping masks allow you to make an object (in this case an image) take the shape of the mask.
That being said, let's go over how to make a clipping mask with Affinity Designer.
Make A Clipping Mask with Affinity Designer
To make a clipping mask with Affinity Designer, position the layer you'd like clipped beneath the layer you'd like to use as the mask. Then, click and drag it on top of the mask layer. This will create a layer group where the top layer is used as a clipping path.
The following video tutorial will walk you through the process of using layer clipping to create a clipping path using text and an image:
Continue one for the written instructions.
Step 1: Identify The Layer You'd Like To Use For The Mask
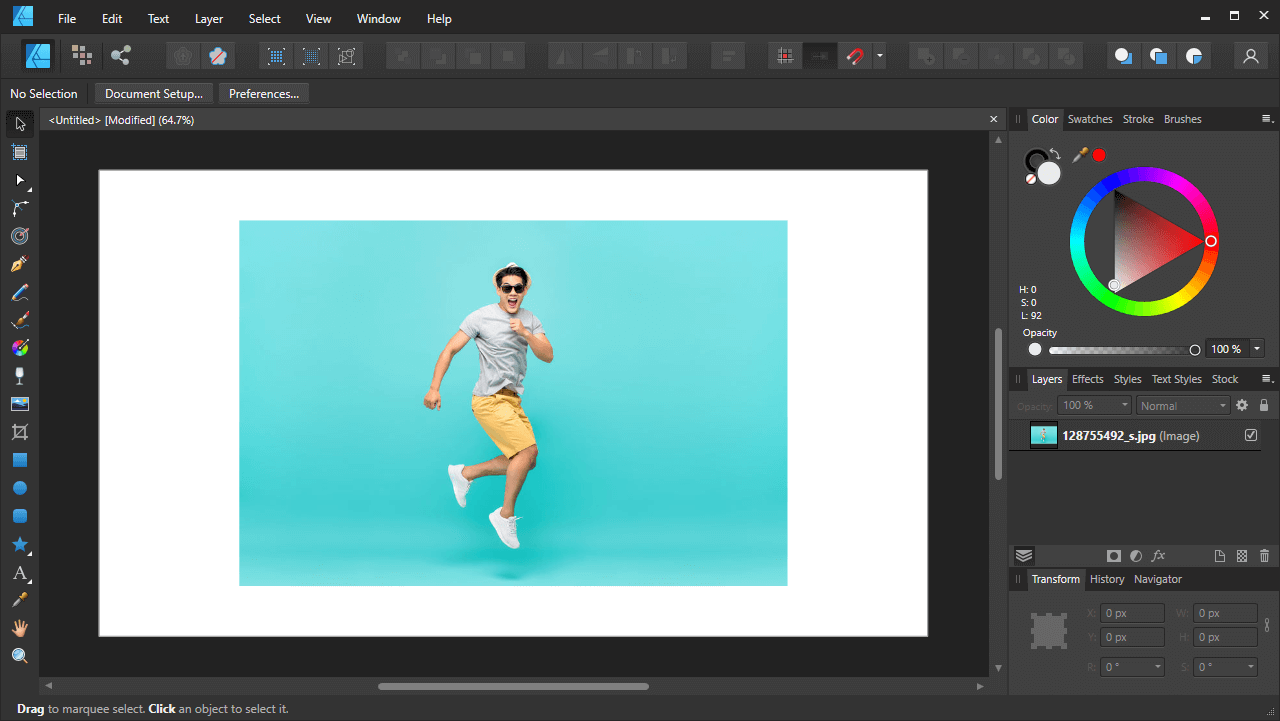
In order to create a clipping path with Affinity Designer, we first need two objects to work with. For this demonstration, I'll be creating a clipping mask with text using the follow image:
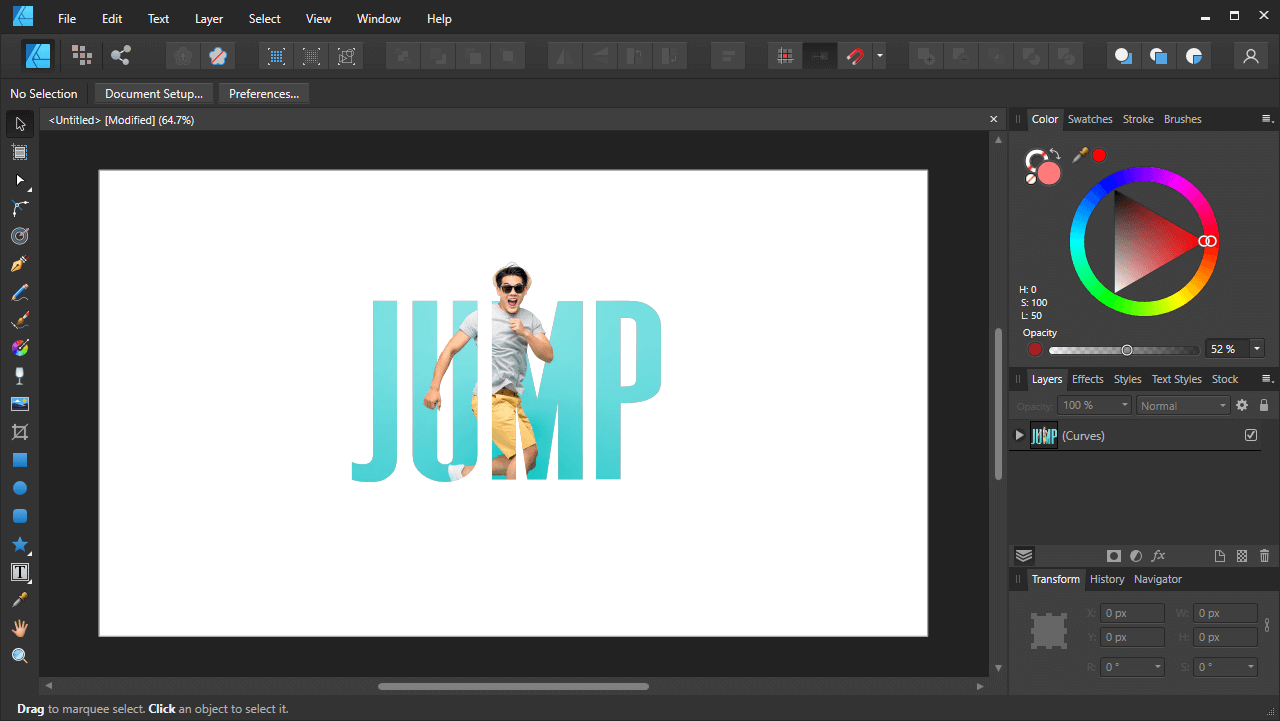
Place the object that will be used as the clipping mask (in this instance, the text) over the subject you'd like to clip. It is recommended that you reduce the transparency partially so you can see where clip lines up with the subject:
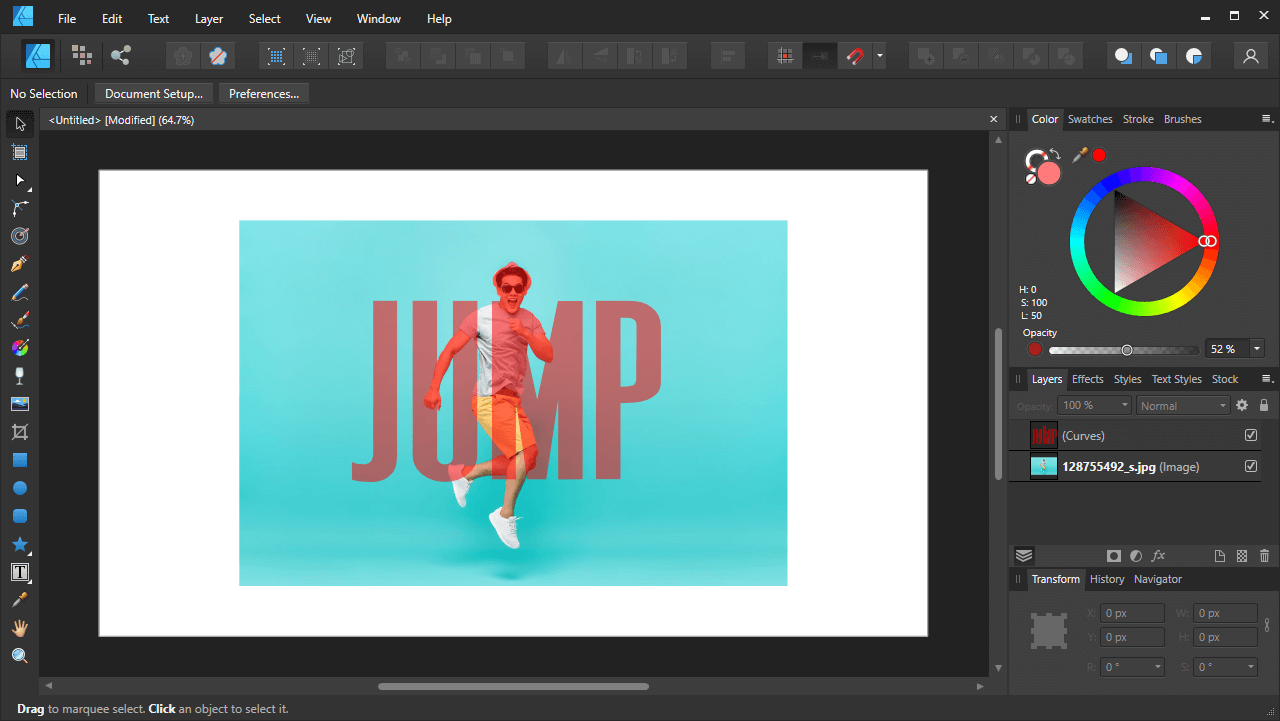
As you can see in the above screenshot, I manually drew in some additional shapes in order to create the effect that the subject is jumping out from the text once it is clipped. Refer to the video tutorial if you'd like to see how this was done.
Step 2: Move The Subject Layer Onto The Clip Layer
Once you've identified an object to be used as a clipping path and a subject to be clipped, navigate over to the Layers menu to make sure that the clip layer is positioned above the layer you plan to clip:
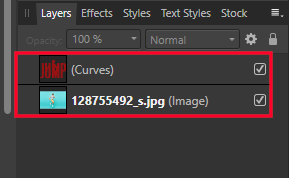
In my example, the text (labeled as "(Curves)") is going to be used as the clipping mask, so I have it positioned above the image's layer.
Thanks to the simplicity of how this feature works, all you have to do to create a clipping mask with Affinity Designer is simply click and drag the bottom layer onto the top layer. As you do so, you should notice the subject taking the shape of the clip:
The two layers will be group together into a single layer group, and you will have effectively created a clipping path:
Release A Clipping Mask with Affinity Designer
One of the benefits of working with clipping masks is that they're non-destructive. Or in other words, you can easily undo them layer onto if need be.
To release your clipping mask, simply click the arrow next to the layer group to expand it. Locate the clipped layer in the group (at the bottom,) right-click it and select Release.
This will release your clipping mask, setting you back to where you initially started:
Conclusion
Making a clipping mask in Affinity Designer is a simpler process than it typically is in other vector design applications. However, it is somewhat hidden. Seeing as how there's no menu item for it in the toolbar, it may lead users to believe that it's not an included feature. Knowing how to work with these clipping paths, though, can help take your designs to the next level by allowing you to incorporate raster imagery into your vector artwork.
Ig you have any questions, or if any part of this lesson was unclear, simply leave a comment below.
![]()
Become A Master of Affinity Designer!
Want to learn more about how Affinity Designer works? Check out my Affinity Designer Master Class – a comprehensive series of over 60 videos where I go over every tool, feature and function and explain what it is, how it works, and why it's useful.
Logos By Nick LLC is a participant in the Amazon Services LLC Associates Program, an affiliate advertising program designed to provide a means for sites to earn advertising fees by advertising and linking to Amazon.com. As an Amazon Associate I earn from qualifying purchases. Read affiliate disclosure here.
How To Use Transparency Tool In Affinity Designer
Source: https://logosbynick.com/clipping-mask-with-affinity-designer/
Posted by: shipleywatiod.blogspot.com
0 Response to "How To Use Transparency Tool In Affinity Designer"
Post a Comment